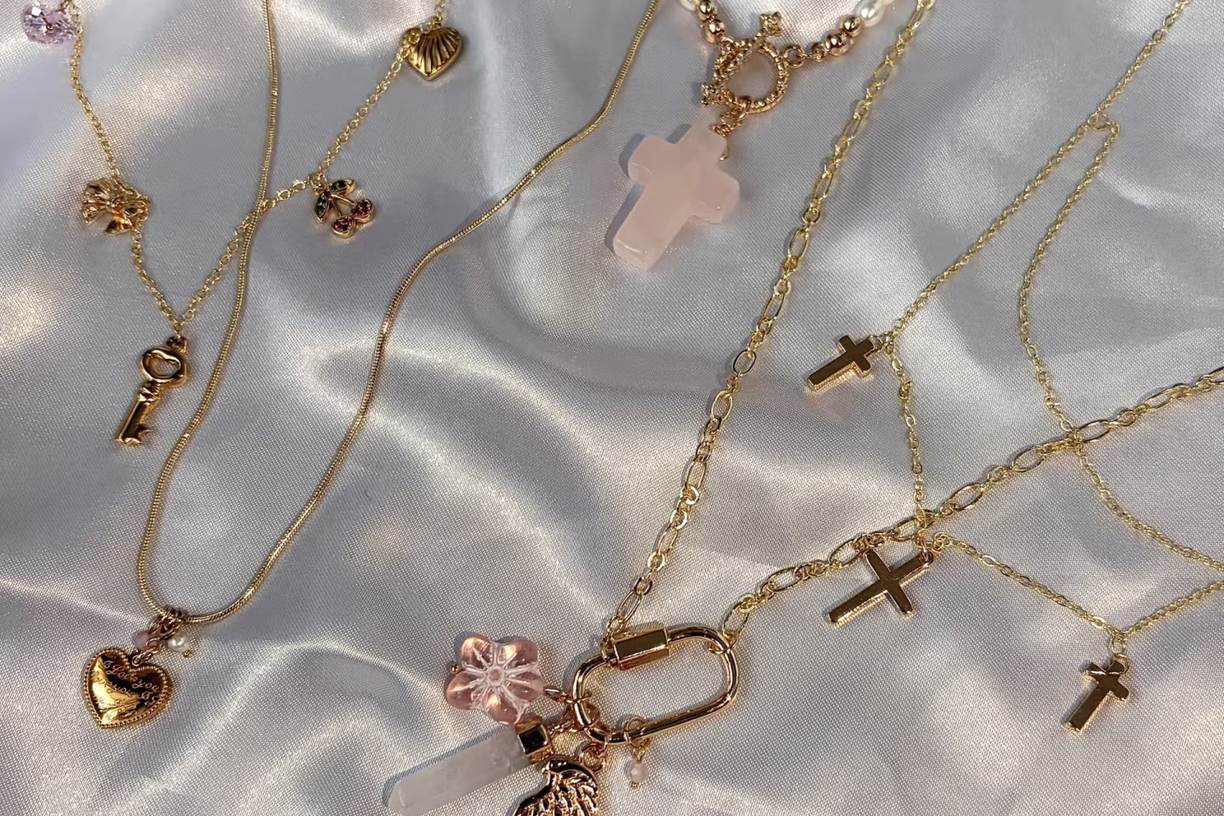
Layering necklaces is one of those things that looks effortless in a photograph and produces a knot the size of a walnut within twenty minutes in real life. The difference is not luck. It is a small set of physical rules about length intervals, weight distribution and link geometry.
This guide covers those rules, the lengths that work, and the accessories that solve the problem outright.
Why necklaces tangle
Three mechanisms, and each has a fix.
Interlocking links. Two chains of the same link type, lying against each other, will eventually find a position where one link passes through another. Fine cable chains are the worst offenders because their links are thin and widely spaced. Different link types in different layers largely eliminates this.
Weight migration. A pendant adds weight at one point on a chain. Under gravity and movement, the heaviest point of a layered stack migrates to the lowest point of the neck's curve, which is the front. If two chains both have pendants, they migrate to the same place and meet.
Clasp drift. The clasp of a necklace is denser than the chain around it, so it rotates to the lowest point — the front of the neck. This is why layered necklaces so often present a small knot of metal at the collarbone rather than a clean drape.
All three are solved by the same four principles below.
Principle one: keep two inches between layers
The single most effective rule. Adjacent chains should differ in length by at least two inches (5cm).
At a one-inch interval, the chains sit nearly on top of each other, and the space between them is small enough that any movement brings them into contact. At two inches, they hang in genuinely separate planes.
| Interval |
Result |
| 0.5–1 inch |
Tangles within minutes. Do not attempt |
| 1.5 inches |
Works if one layer has no pendant and both chains are stiff |
| 2 inches |
The reliable minimum |
| 2.5–3 inches |
Comfortable, visually distinct layers |
| 4+ inches |
Reads as separate necklaces rather than a layered look |
Principle two: heaviest pendant on the shortest chain
When two pendants sit at the same depth, they will find each other. Keeping them at different depths is what prevents it.
The most reliable configuration is to put the heaviest pendant on the shortest chain, where it sits high on the chest and cannot migrate downward past the other layers. Lighter pendants go lower.
If you want two pendants at similar depths — a common request for two sentimental pieces — the honest answer is that they will tangle unless you use a spacer or wear them on a single chain with a fixed gap.
Principle three: vary the link type
Chains of identical link type interlock. Chains of different link type do not, because the geometries are incompatible.
| Layer |
Recommended link |
Why |
| Shortest (14–16") |
Fine cable or box chain |
Sits high, minimal movement, clean line |
| Middle (18") |
Curb, rope or bead chain |
More texture, enough weight to hang straight |
| Longest (20–24") |
Paperclip, Figaro or herringbone |
Substantial enough to anchor the stack |
Two practical notes. Herringbone chains lie flat and look wonderful but kink permanently if bent, so they should be the longest layer where nothing presses on them, and never combined with a chain that crosses over them. Rope and bead chains are the best middle layers because their texture prevents interlocking and their weight keeps them hanging straight.
Principle four: control the clasps
Two accessories solve the clasp problem outright, and they are inexpensive.
A multi-strand clasp or necklace spacer. A single clasp with two, three or four attachment points, which all the chains fasten to at the back of the neck. This keeps the layers at fixed relative lengths, prevents clasp drift entirely, and means you put the whole stack on and take it off in one movement. This is the single best purchase for anyone who layers regularly.
A magnetic layering clasp. A small magnetic clasp that lets you join chains at a chosen point. Useful for converting a long chain into a doubled shorter one, and for holding two chains together at a specific depth so they cannot separate.
If you use neither, at minimum fasten all chains so the clasps sit at the back, and check that no clasp has rotated to the front before you leave the house.
Lengths and where they sit
| Length |
Name |
Sits at |
| 14" |
Collar |
Base of the throat |
| 16" |
Choker |
Just below the throat, above the collarbone |
| 18" |
Princess |
On the collarbone — the most common length |
| 20" |
Matinee |
Just below the collarbone |
| 22" |
Matinee |
Upper chest |
| 24" |
Opera |
Mid chest |
| 30" |
Opera |
Below the bust |
| 36"+ |
Rope |
Can be doubled or knotted |
Three standard combinations that work reliably:
The classic trio: 16" / 18" / 20". The safest layered configuration. Wide enough intervals, covers the collarbone area, works with almost any neckline.
The pendant stack: 16" / 20" / 24". For when two or three layers have pendants. The four-inch intervals give the pendants genuinely separate positions.
The choker and chain: 14" / 18". A fitted choker with a single longer chain below it. Two layers rather than three, and it reads as more deliberate.
One sizing caveat: these lengths assume an average neck. If your neck is larger than about 14 inches in circumference, add an inch or two to every layer, because a chain that sits at the collarbone on one person may sit at the throat on another.
Necklines
The neckline determines which configuration works, and this is where most layering looks wrong.
| Neckline |
Works |
Avoid |
| Crew neck |
18" / 20" / 24", all layers visible |
Short chokers, which sit on the fabric |
| V-neck |
16" / 18" / 20", following the V |
Wide intervals that cross the V point |
| Scoop neck |
16" / 18", high and tight |
Long chains, which disappear into the scoop |
| Button-up shirt |
20" / 24", over the collar |
Anything under 18", which sits inside the shirt |
| Strapless or off-shoulder |
14" / 16" / 18", filling the bare skin |
Long chains, which sit on fabric |
| High turtleneck |
24" / 30", worn over the knit |
Chokers, which disappear |
The general principle: layer over bare skin, not over fabric. A chain that sits on a shirt rather than against the neck loses the layered effect entirely and just looks like a chain on a shirt.
Mixed metals are the dominant styling approach and the old rule against them is dead. What remains is a practical consideration about hardness.
| Metal |
Vickers hardness |
Notes |
| Platinum |
130–140 HV |
Similar to 18K gold; will wear silver visibly |
| 18K gold |
125 HV |
The reference for fine jewelry |
| 14K gold |
140–180 HV |
Harder than 18K |
| Sterling silver |
60–90 HV |
Much softer; will show wear where it rubs gold |
Sterling silver against gold will wear faster, and the silver will show the abrasion. This is not a reason to avoid mixing — it is a reason to accept that the silver piece will need polishing more often, and to avoid pairing a fine silver chain with a heavy gold chain where the contact pressure is high.
For stones, keep hard stones away from soft ones. A diamond pendant on a short chain will scratch an opal or a pearl on a longer chain if they contact. Since layers move, contact is likely rather than possible.
Care
Layered necklaces collect more grime than single ones, because the chains rub against skin and each other and hold residue in the links.
After each wear: wipe the stack with a soft dry cloth before putting it away. This removes skin oils, which are what turn chains dull.
Weekly: lay the chains flat and separate, and check each link for stretching or opening. A stretched link is the beginning of a break.
Monthly: clean with warm water and a drop of mild dish soap, using a soft brush on the links. Rinse and dry completely before storing. See our jewelry cleaning guide for metal-by-metal instructions.
Storage: hang layered necklaces on separate hooks rather than storing them together in a box. This is the single most effective anti-tangle measure, because it removes the contact that causes interlocking in the first place.
Building a layering wardrobe
The most reliable way to make layering work is not to assemble it each morning. It is to buy deliberately so that the pieces you own are compatible with each other.
A layering wardrobe that covers most outfits is five chains:
| Piece |
Length |
Link |
Role |
| Fine cable chain |
16" |
Cable, 1mm |
The base layer, worn alone or under everything |
| Box chain with small pendant |
18" |
Box, 1.2mm |
The focal layer |
| Curb chain |
20" |
Curb, 2mm |
The middle weight that anchors the stack |
| Paperclip chain |
22" |
Paperclip, 3mm |
The longest layer, worn over a shirt |
| Long rope chain |
30–36" |
Rope, 2mm |
Worn doubled, knotted, or alone |
That is roughly the cost of two or three impulse purchases, and it produces every combination below.
The everyday stack: 16" cable + 18" pendant. Two layers, no tangling risk, works with almost everything.
The evening stack: 16" + 20" + 22". Three layers with four-inch intervals, each a different link type.
The statement stack: 18" pendant + 22" paperclip. Two layers with a strong weight contrast.
The shirt stack: 20" curb + 30" rope worn doubled. Designed to sit over a button-up.
The single layer: 30" rope knotted at the collarbone. Not a layered look, but the same wardrobe produces it.
Three purchases worth making alongside the chains. A multi-strand clasp so all layers fasten together at the back. A chain extender — a short two-inch extender with several attachment points, which lets one chain serve two roles. And a hanging jewelry stand rather than a box, so the chains never touch in storage.
Layering with pendants, pearls and statement pieces
The four principles above are about chains. Pendants, pearls and larger pieces follow different rules, because they are heavier and less uniform.
Multiple pendants
Two pendants at the same depth will meet. The only reliable solutions are to separate them by at least four inches, or to mount both on a single chain with a fixed gap between them.
A fixed-gap arrangement — two pendants attached to one chain at defined points — is the most robust option and the one we would recommend for two sentimental pieces that should be worn together. It eliminates the variable that causes tangling entirely, because the relative positions cannot change.
If the pendants are different weights, put the heavier one higher. A heavy pendant on a longer chain will swing more, and a swinging pendant will find its neighbour.
Pearls
Pearls should not be layered with metal chains that can abrade them. A pearl is Mohs 2.5 to 4.5, softer than any metal in the box, and a gold chain rubbing against a pearl strand will wear through the nacre at the contact points.
Where pearls can be layered safely:
- Pearl strand with a pearl pendant. Both soft, no abrasion risk.
- Pearl strand with a fine chain worn higher, where contact is intermittent rather than constant. Accept that the pearl nearest the contact point will wear.
- Two pearl strands of different lengths. The classic approach, and the safest.
Where they cannot: a pearl strand directly against a heavy gold chain, or a pearl pendant on a chain that crosses over other metal.
Statement pieces
A large pendant, a chunky chain or a bold gemstone piece should be the only focal point. Layering a statement piece with other statement pieces produces visual noise rather than a stack.
The reliable approach is one statement plus supporting fines: a substantial pendant on an 18-inch chain, supported by a 16-inch fine cable and a 22-inch fine paperclip. The fines frame the statement rather than competing with it.
The other consideration with statement pieces is weight. A heavy pendant pulls its chain, and a chain that is pulled will migrate to the lowest point of the neck and rotate. If a statement pendant is part of a stack, it should be on the shortest layer, where migration is limited by the neck's curve.
Layering with different lengths of the same chain
A common and effective technique: buy one long fine chain and wrap it twice, using a magnetic clasp to hold the two loops at a fixed separation. This produces two layers from one piece, with a guaranteed interval.
The limitation is that doubling a chain creates a contact point where the two loops cross, which is exactly where tangling begins. A magnetic clasp that holds the crossing point fixed solves this. Without one, a doubled chain tangles more reliably than two separate chains.
Common layering mistakes
These are the errors that produce a tangled mess by mid-afternoon, in rough order of frequency.
Intervals that are too small. A one-inch gap between chains means they are effectively touching. This is the single most common cause of tangling, and the easiest to fix. If your chains are 17 and 18 inches, either replace one or use a spacer to force a two-inch separation.
Same link type in every layer. Two cable chains will interlock. Two box chains will interlock. Mixing a cable with a curb, or a curb with a paperclip, largely prevents it because the link geometries are incompatible.
Pendant weight in the wrong place. A heavy pendant on the longest chain will swing, migrate to the lowest point of the neck, and drag its neighbours with it. Heavy pendants belong high.
Too many layers. Three is the practical maximum for a look that still reads as deliberate. Four or more becomes a cluster, and the tangling risk rises faster than the visual return.
Clasps left to drift. Uncontrolled, clasps rotate to the front and present as a knot of metal at the collarbone. Fasten everything at the back, or use a multi-strand clasp.
Layering over fabric. A chain that sits on a shirt rather than against the neck loses the layered effect and looks like a chain on a shirt. The whole technique depends on chains hanging against skin.
Chains of wildly different quality. A fine 1mm chain next to a 4mm curb chain reads as an accident rather than a decision. Aim for a gradual weight progression — roughly 1mm, 2mm, 3mm — so the layers look intentional.
Ignoring what the stones will do to each other. Layers move and contact. A diamond on one chain will scratch an opal or a pearl on another. If a stack includes both hard and soft stones, put them at intervals wide enough that contact is unlikely, or accept that the soft stone will wear.
Frequently asked questions
How do I stop layered necklaces from tangling?
Keep at least a two-inch length difference between adjacent chains, make sure the heaviest pendant is on the shortest chain, and use chains of different link styles so they slide against each other rather than interlocking. A multi-clasp spacer or a magnetic layering clasp solves the problem completely.
What length necklaces should I layer?
Three chains at 16, 18 and 20 inches is the most reliable combination, because the two-inch interval is wide enough that the chains do not sit on top of each other. Intervals of one inch or less tangle almost immediately.
Can I layer different metal colours together?
Yes, and mixed metals have been the dominant styling approach since around 2019. The practical constraint is hardness rather than colour: 14K and 18K gold, platinum and sterling silver can all be worn together, but silver is softer than gold and will show wear where the two rub.
Why do my layered necklaces always end up on one side?
Because the clasps rotate to the front and the chains migrate. The clasp of a necklace is the heaviest part of the chain relative to its size, so it naturally drifts toward the lowest point. Fastening all the chains so the clasps sit at the back, and using a spacer, fixes this.
What is the best chain type for layering?
A fine cable or box chain for the shortest layer, a slightly heavier curb or rope for the middle, and a heavier link such as a paperclip or Figaro for the longest. Varying the link style is what prevents chains from interlocking.
The bottom line
Layering works when the layers are genuinely separate: two inches apart, different link types, heaviest pendant highest, clasps controlled. Get those four things right and the stack stays put. Skip any one of them and you will spend the evening untangling.
The single best purchase is a multi-strand clasp. It costs less than a mid-range chain, and it converts a fiddly styling exercise into a single object you put on in one movement.